How to play multichambered ocarinas
Playing multichambered ocarinas is much the same as playing single chambered instruments. The only real difference is the need to move one's blowing between multiple windways, and the right hand fingers between the holes of multiple chambers.
This article assumes familiarity with basic techniques like breath control and tongued articulation. If you have not done so, I'd recommend reading the article How to play the ocarina first.
Holding a multichamber ocarina
The posture for holding a multichamber ocarina is the same as for a single chamber. The right hand comes in from the rear with the mouthpiece facing toward you. The left hand comes in from the opposite side. A double is shown here, but the ideas are the same for ocarinas with more chambers.

As their name implies, multichamber ocarinas have multiple chambers, each of which has its own windway, voicing, and finger holes.
- The fingerings of the first chamber are largely the same as a single chambered ocarina, being fingered by both hands.
- The higher chambers are played by the right hand only, and the four fingers must move to cover the holes on whichever chamber is being blown.
As was discussed in The fingering systems of multichamber ocarinas, chambers are additive. Each additional chamber adds range, but the fingerings of the second chamber on both a double ocarina, and triple ocarina, are the same.
Multichambered transverse ocarinas may be found with as many as four chambers, and the following diagram shows roughly how the holes on the right hand connect to the chambers. The holes within the area marked '1' are connected to the first chamber; those shown in '2' are for the second chamber, and so on.
If you are playing a double ocarina, the chambers marked 3 and 4 can be ignored. Likewise on a triple ocarina, chanber 4 can be ignored.

The positioning of the left hand on a multichamber ocarina is identical to that of a single chamber: it only has to cover a single set of holes. As with singles, you should keep your fingers gently curved along their length. Joints with sharp angles usually indicate a poorly placed finger or poor hand posture. See 'How to hold an ocarina' for more.

The right hand's position is also similar to on a single chambered ocarina, but these fingers are responsible for covering the holes of two or more chambers. Typically, the fingers move together, covering the holes of a single chamber at a time.


The right thumb needs to be positioned to allow the fingers to move as needed to cover the holes of the various chambers. If the ocarina has a right thumb hole, this will guide the placement of the thumb. Otherwise, the thumb should be positioned approximately in the middle of the two rows of holes above. On a triple, the thumb should rest roughly opposite the finger holes of the second chamber.
If you are able to bend your thumbs backwards, I strongly advise intentionally holding your right thumb straight, as having it forced back by the weight of the ocarina can be painful. Some ocarinas have a ramp for the thumb, which allows it to better support the instrument and also stops it from bending backwards.

As it is difficult to see what your fingers are doing in normal playing position, I recommend using a mirror to check your hand posture. You can also bend your elbows to move the ocarina into a position that allows you to see your fingers, without influencing finger placement.
Blowing a multichamber ocarina
The main difference in blowing multichambered ocarinas vs blowing single chambered ocarinas, is that each chamber has its own windway and voicing. It is essential to constrain your air to a single windway, but at the same time, you also need to be able to switch which windway you're blowing into rapidly.

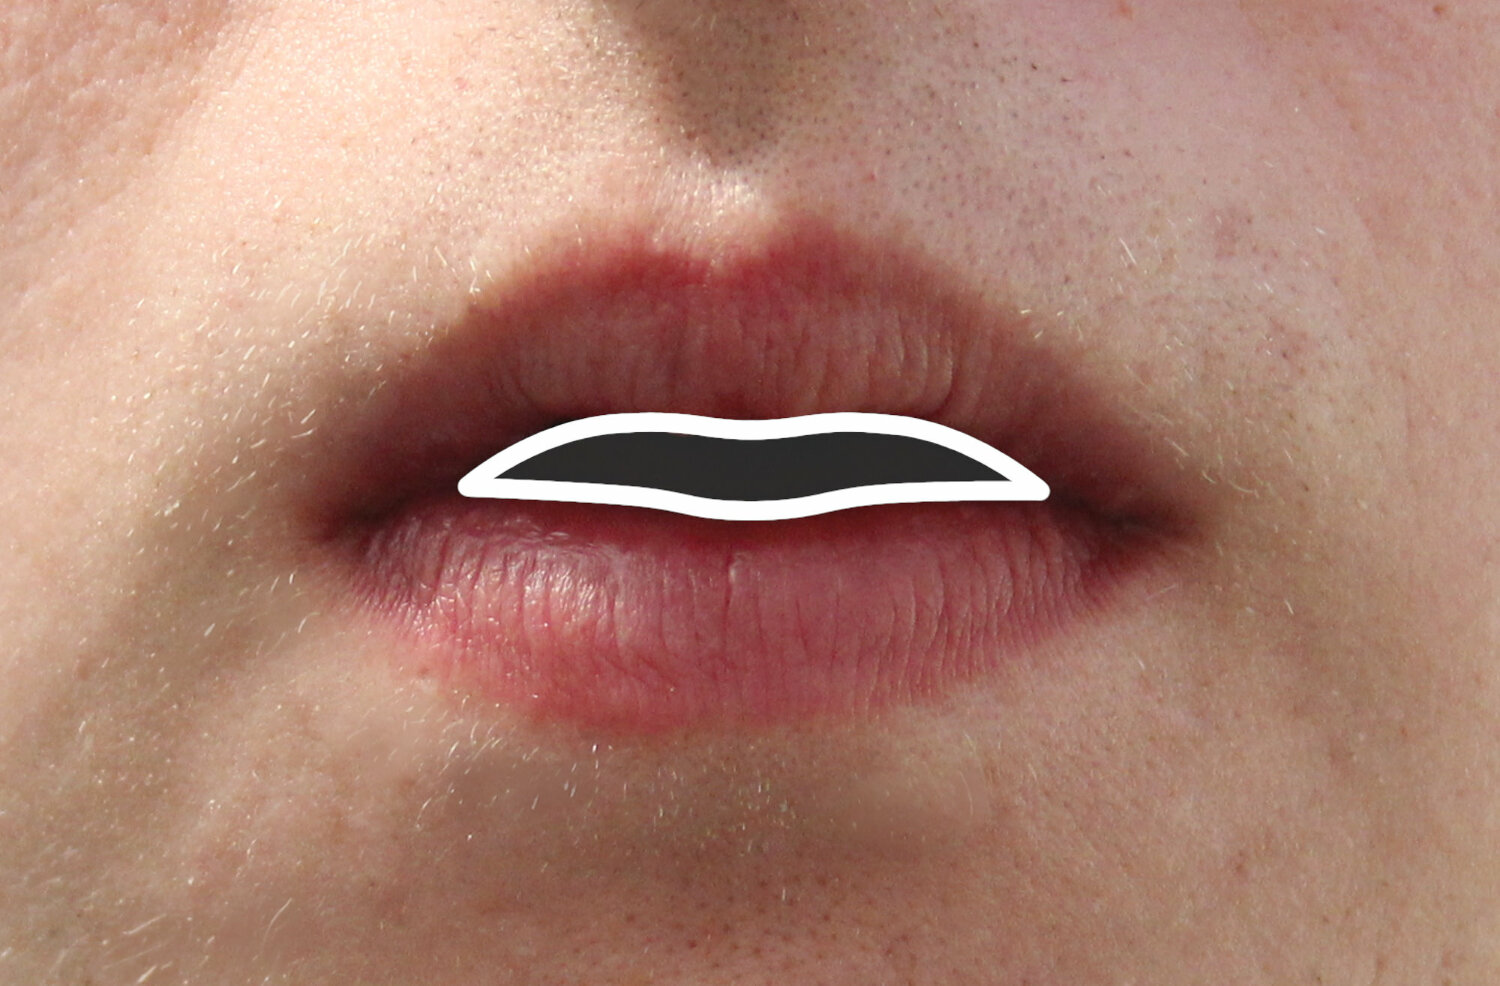
Constraining the air to a single windway is done by forming an aperture with the lips, similar to the posture you'd use to pronounce the 'oo' syllable. This aperture should be moderately sized as it will create a noisy tone if too restricted.
Lightly touch the mouthpiece of the ocarina against the aperture, in line with the desired windway, using just enough pressure to create a seal. The ocarina should not be in your mouth at all, just resting against the outside of the lips.

As when playing a single chamber, you should angle the ocarina so you are blowing directly down the windway. Tilting it sharply up or down kinks the air passage and can create a noisy tone.


Basic chamber switching
When you want to play a note on a different chamber, you have to both move your fingers to the other chamber, and move the instrument so that you're blowing into the correct windway. This is called chamber switching.
The action of moving the fingers between the chambers comes partly from the wrist and partly from bending the fingers. The thumb normally remains stationary. Please see the video below..
The exact fingerings of the higher chambers does vary between ocarinas, and some of these common variants are covered on the page The fingering systems of multichamber ocarinas. Checking a fingering chart for your instrument is recommended though.
